This is the latest (main) BeagleBoard documentation.
If you are looking for stable releases, use the
drop-down menu on the bottom-left and select the desired version.
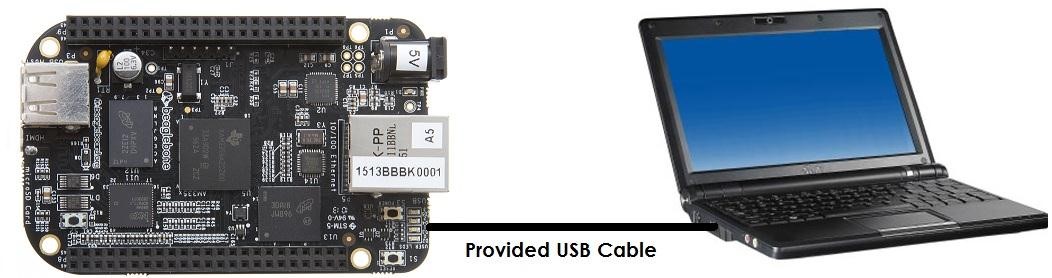
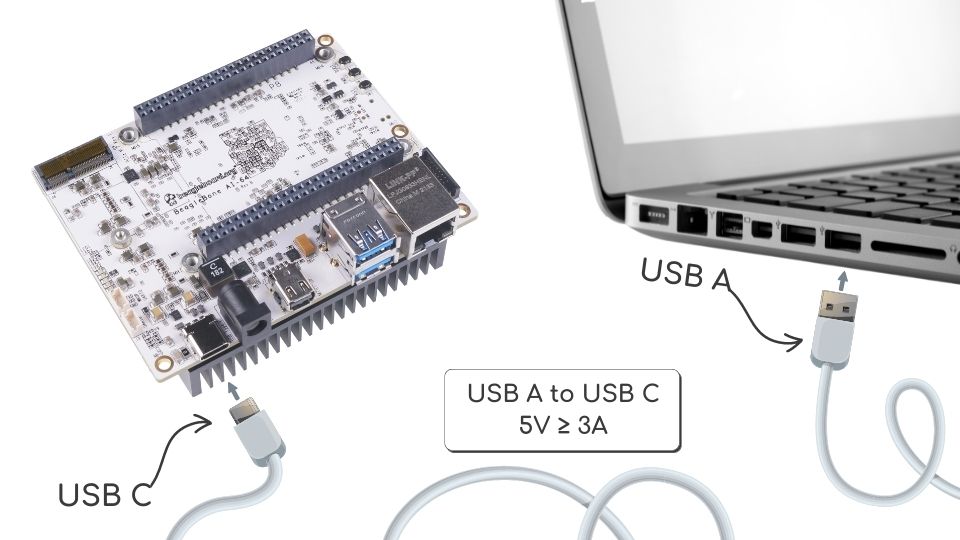
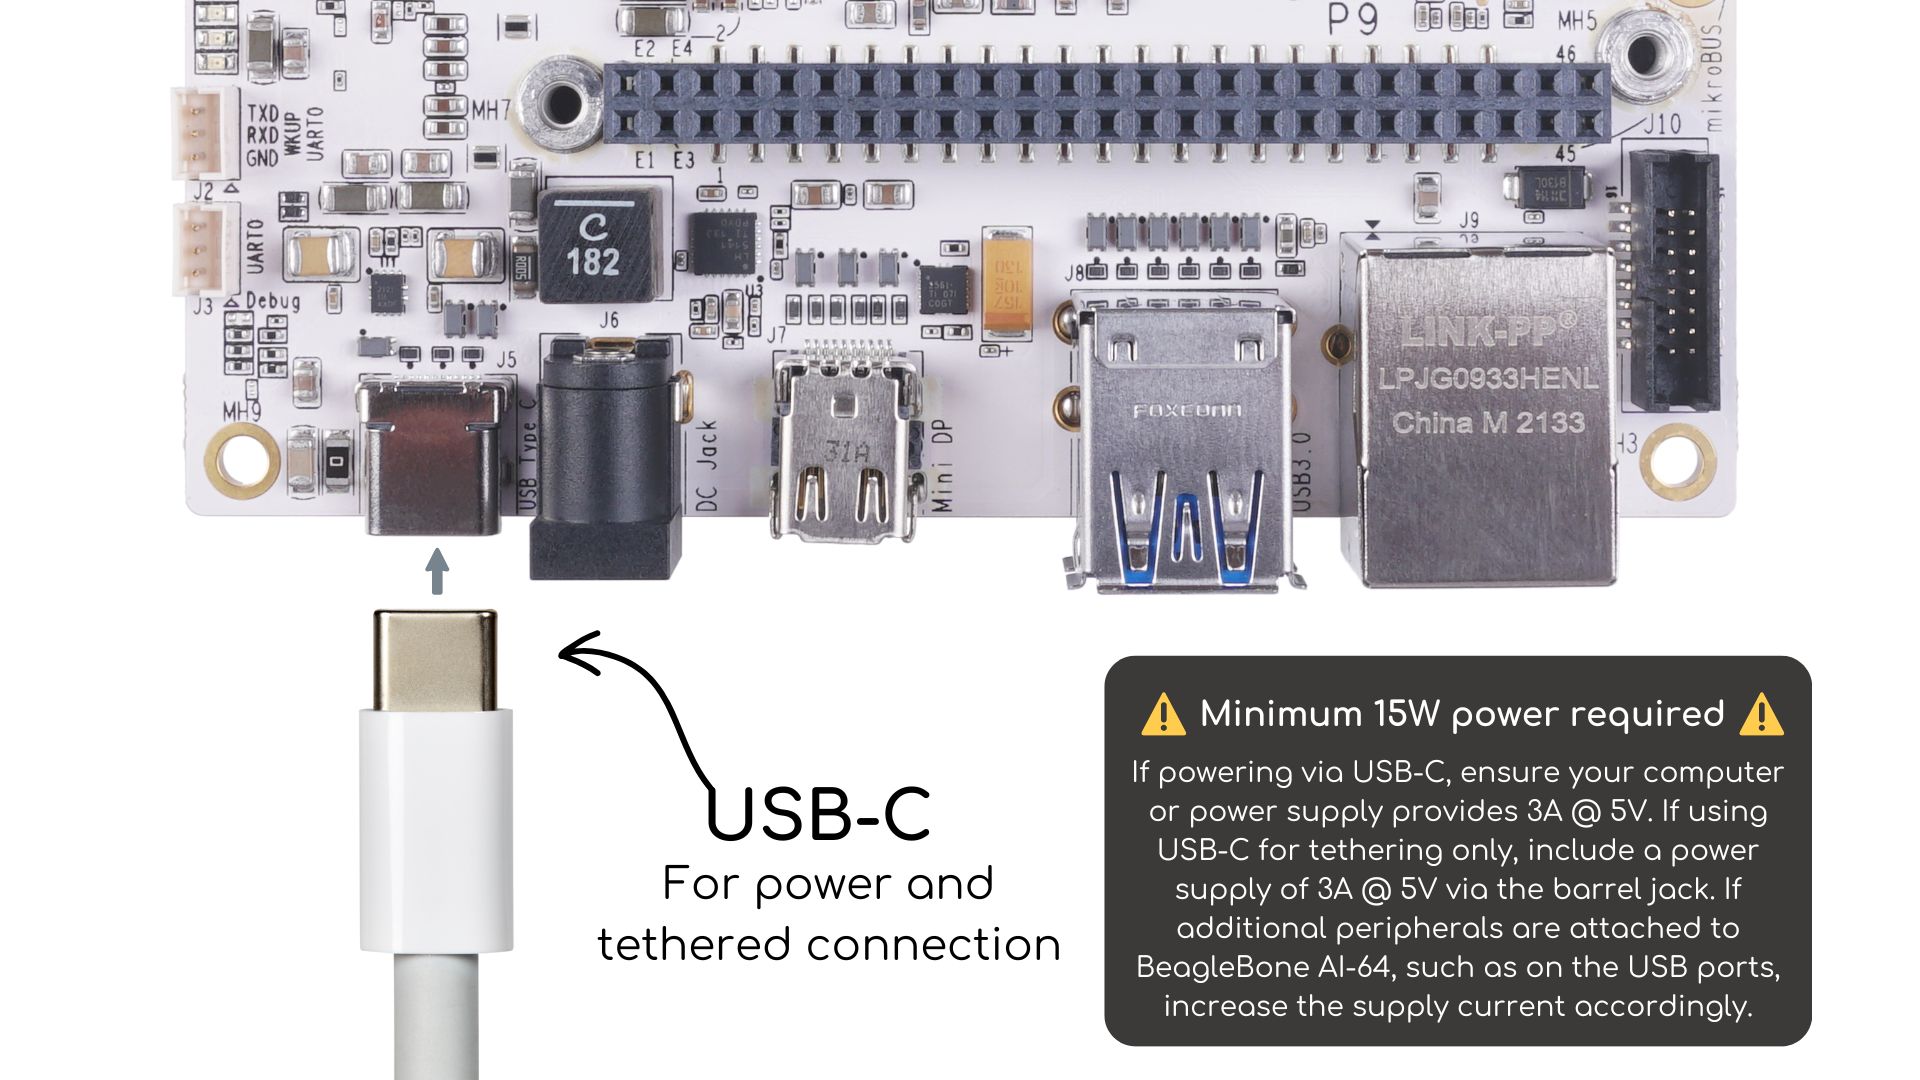
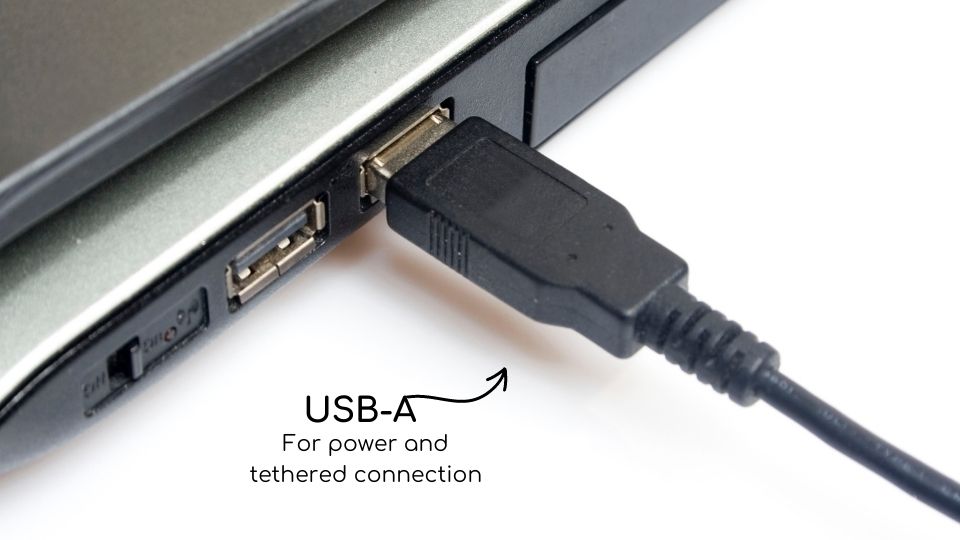
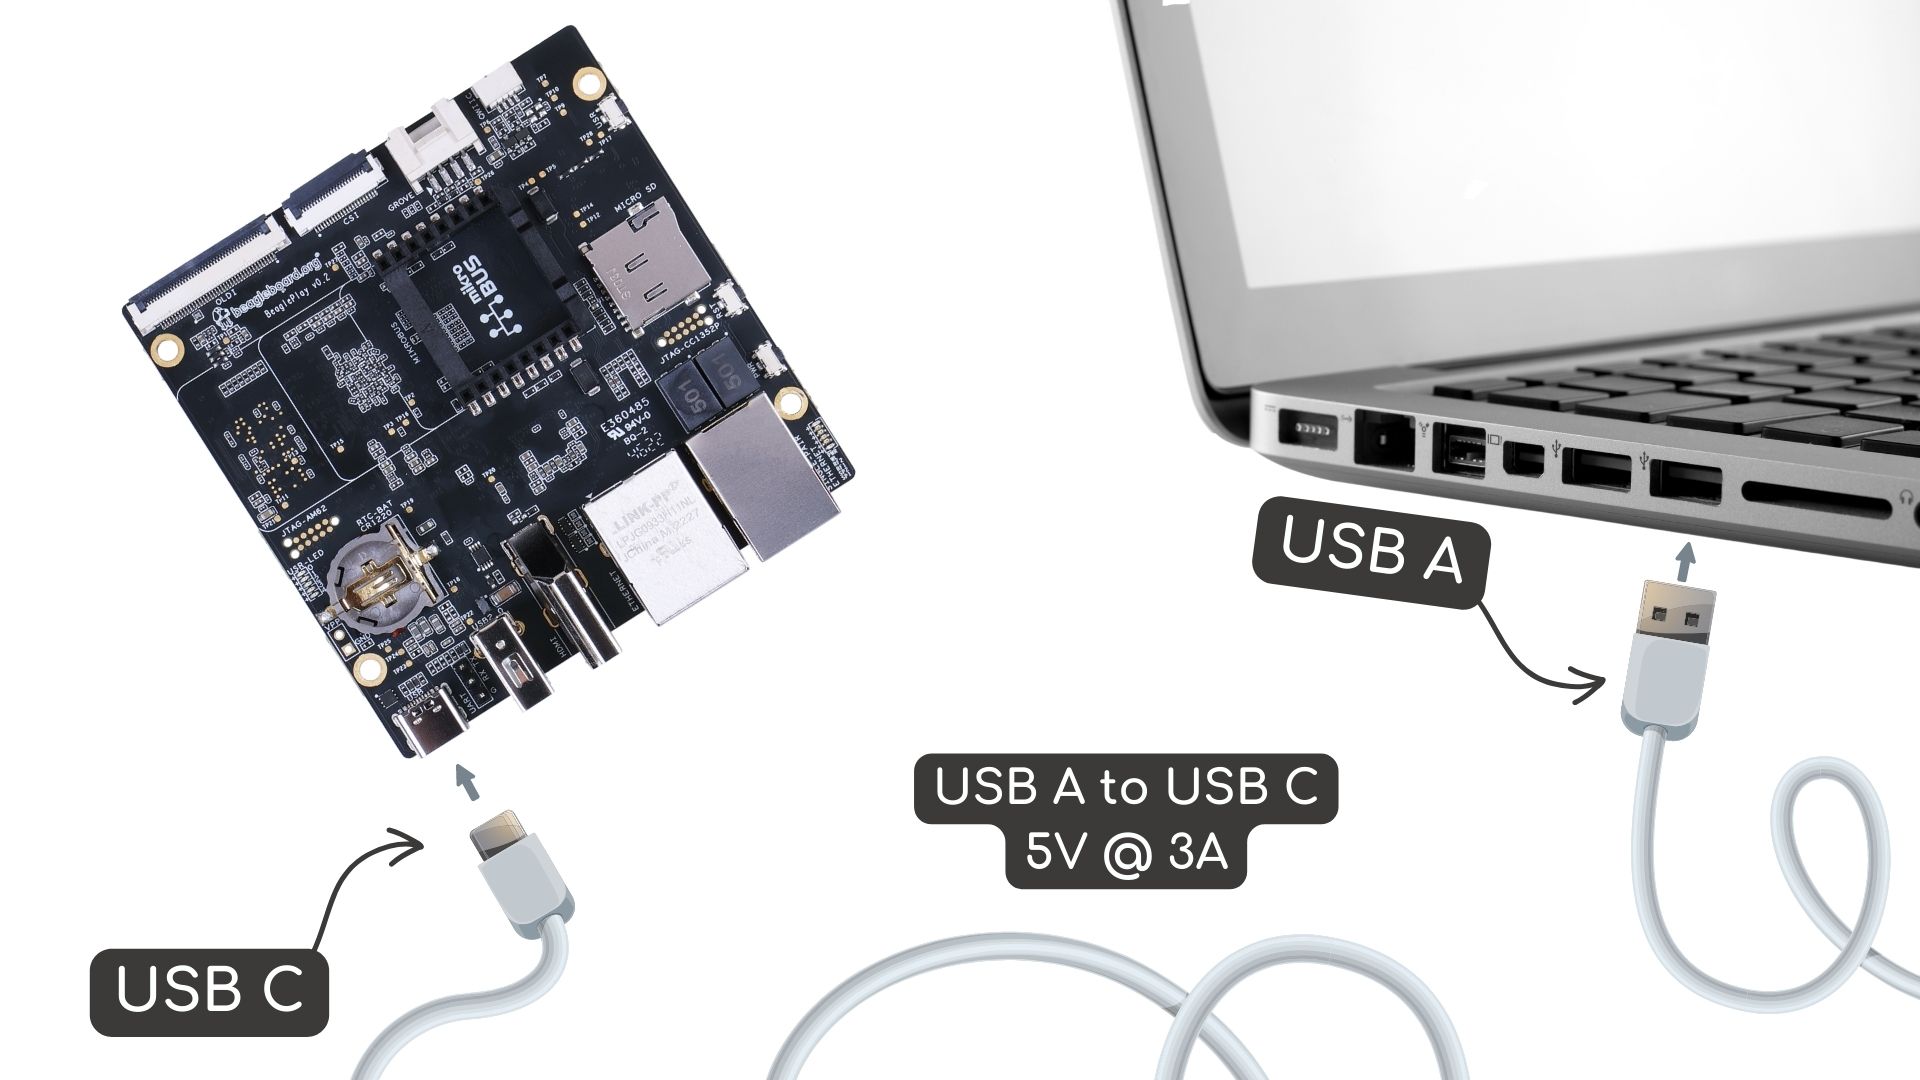
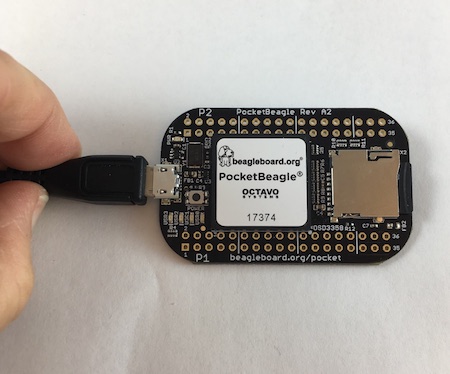
For this step you need to get a USB cable and attach your Beagle
to your host computer with it. Where you attached the cable
depends on which Beagle you have. Click on the tab for your board.
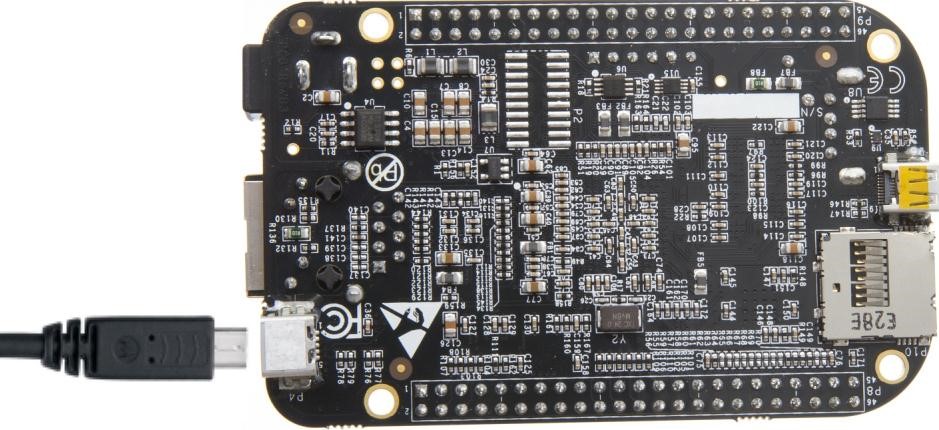
Tethered Configuration
Mini USB Connection to the Board as seen from the bottom.
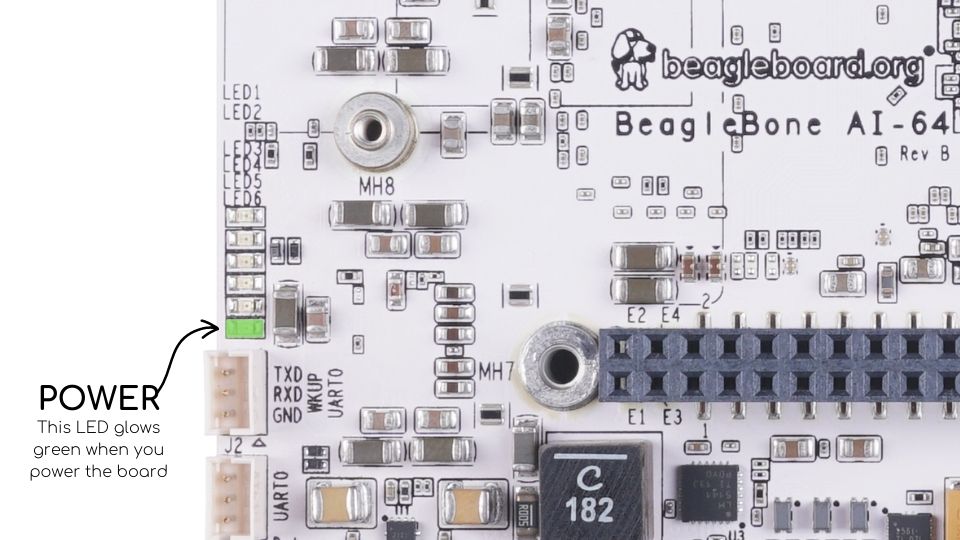
Once attached you will see some LEDs blinking.
Wait a bit and the blinking will settle down to a steady
heart beat.
The Beagle is now up and running, but you didn’t have to
load up Linux. This is because all Beagles
(except PocketBeagle, see Update board with latest software
to install an image on the Pocket) have built-in flash memory
that has the Debian distribution of Linux preinstalled.
Next you login to the Beagle from your host computer.
Here you have a choice. If you want a graphical approach,
choose the VSCode tab. If you want a command line
and your host is a Mac, take the ssh(Mac) tab. If you
are running Linux on your host,
take the ssh(Linux) tab. Finally take the
putty(Windows) tab for command line from Windows.
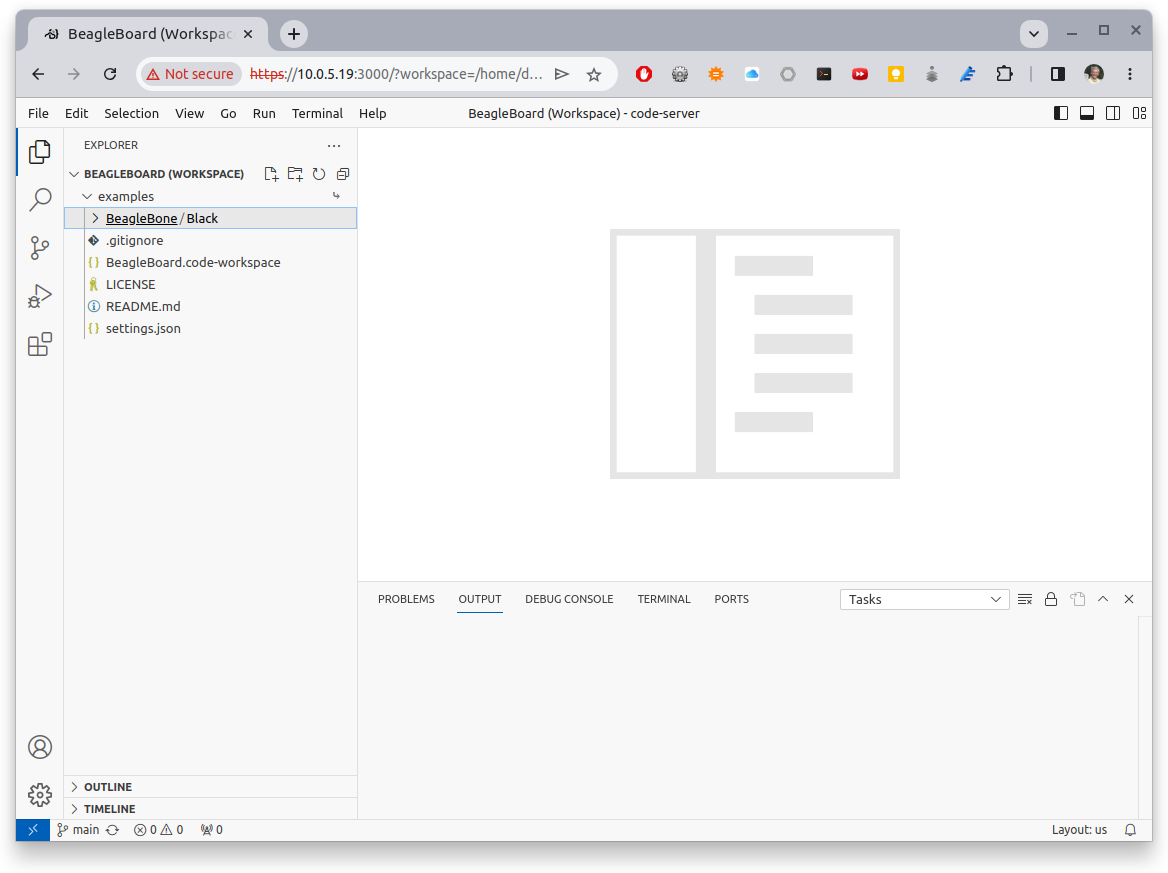
Recent Beagles come with the IDE Visual Studio Code
(https://code.visualstudio.com/) installed and
running. To access it, open a web browser on
your host computer and browse to: 192.168.7.2:3000
(use 192.168.6.2:3000 for the Mac)
and you will see something like:
At this point you can either run the scripts via a command
line within VS Code, or run them by clicking the
RUNCode button.
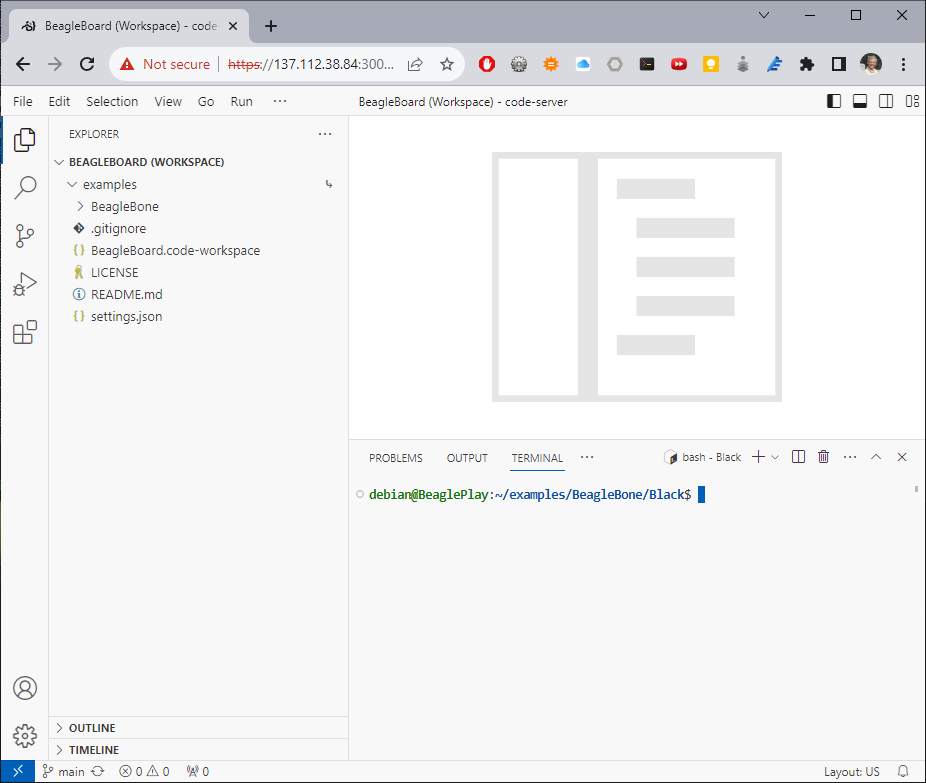
Running via the command line
Open a terminal window in VS Code by dropping down the
Terminal menu and selecting NewTerminal (or entering
Ctrl+Shift+`). The terminal window appears at the
bottom of the screen as shown below.
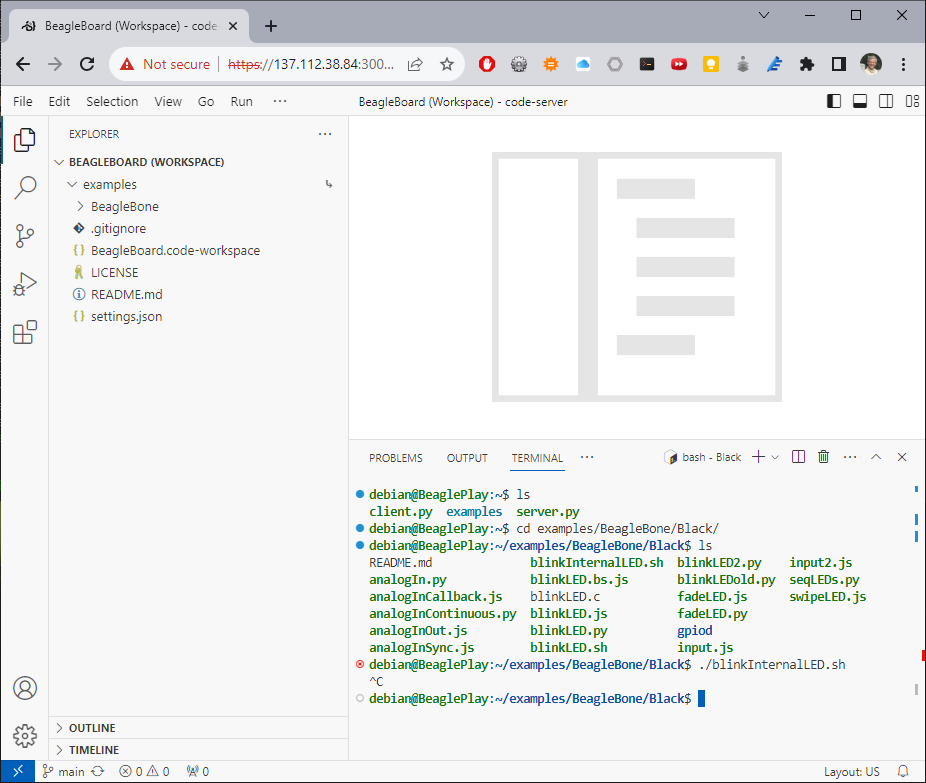
You can now enter commands and see them run as shown below.
Running via the RUN button
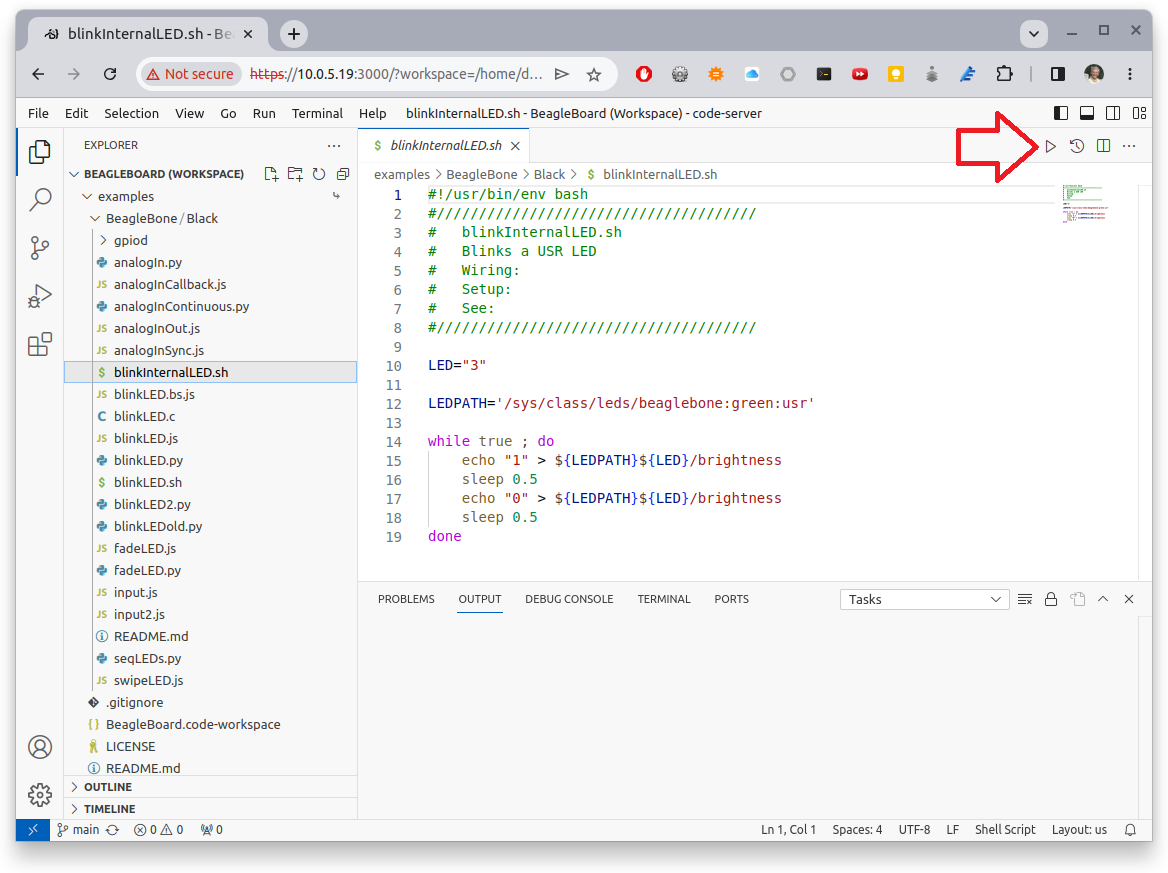
Use the file navigator on the left to navigate to
examples/BeagleBone/Black/blinkInternalLED.sh
and you will see:
This code blinks one of the USR LEDs built into the board.
Click on the RUNCode triangle on the upper right of
the screen (see red arrow) to run the code. (You could also enter Ctrl+Alt+N)
The USR3 LED should now be blinking.
Click on the StopCodeRun (Ctrl+Alt+M) square to the right of the
RunCode button.
Time to play! Try changing the LED number (on line 10) from
3 to something else. Click the RunCode button (no
need to save the file, autosave is on by default).
Try running seqLEDs.py.
If you are running a Mac host, open a terminal widow and run
host:~$ sshdebian@192.168.6.2
Use the password temppwd.
If you are running a Linux host, open a terminal widow and run
host:~$ sshdebian@192.168.7.2
Use the password temppwd.
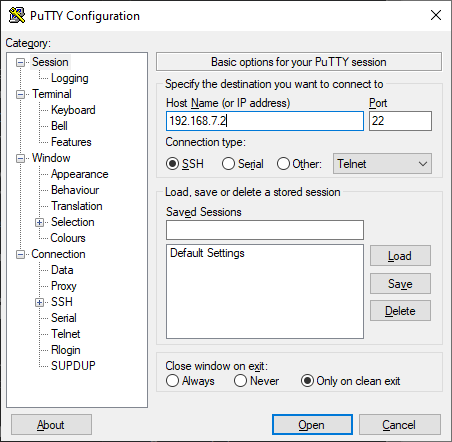
If you are running Window you need to run an ssh client
to connect to the Beagle. I suggest you use putty.
You can download it here: https://www.putty.org/.
Once installed, launch it and connect to your Beagle
by sshing to 192.168.7.2.
Here’s a script that sequences the LEDs on and off.
bone:~$ catseqLEDs.py
import timeimport osLEDs=4LEDPATH='/sys/class/leds/beaglebone:green:usr'# OpenafileforeachLED
f = []for i in range(LEDs): f.append(open(LEDPATH+str(i)+"/brightness", "w"))# Sequence
while True: for i in range(LEDs): f[i].seek(0) f[i].write("1") time.sleep(0.25) for i in range(LEDs): f[i].seek(0) f[i].write("0") time.sleep(0.25)bone:~$ ./seqLEDs.py
^c
An interesting thing about Linux is there are often many ways
to do the same thing. For example, I can think of at least five ways to blink
an LED. Here’s another way using the gpiod system.
Here we asked how the LEDs are attached to the General Purpose
IO (gpio) system. The answer is, (yours will be different for a
different Beagle)
there are four interface chips and the LEDs are attached to
chip 1. You can control the gpios (and thus the LEDs) using
the gpioset command.
Some Beagles have a USR button that can be used to control the LEDs.
You can test the USR button with evtest
bone:~$ evtest
No device specified, trying to scan all of /dev/input/event*Not running as root, no devices may be available.Available devices:/dev/input/event0: tps65219-pwrbutton/dev/input/event1: gpio-keysSelect the device event number [0-1]: 1
We want to use gpio-keys, so enter 1. Press and release
the USR button and you’ll see:
Input driver version is 1.0.1Input device ID: bus 0x19 vendor 0x1 product 0x1 version 0x100Input device name: "gpio-keys"Supported events:Event type 0 (EV_SYN)Event type 1 (EV_KEY) Event code 256 (BTN_0)Key repeat handling:Repeat type 20 (EV_REP) Repeat code 0 (REP_DELAY) Value 250 Repeat code 1 (REP_PERIOD) Value 33Properties:Testing ... (interrupt to exit)Event: time 1692994988.305846, type 1 (EV_KEY), code 256 (BTN_0), value 1Event: time 1692994988.305846, -------------- SYN_REPORT ------------Event: time 1692994988.561786, type 1 (EV_KEY), code 256 (BTN_0), value 2Event: time 1692994988.561786, -------------- SYN_REPORT ------------Event: time 1692994988.601883, type 1 (EV_KEY), code 256 (BTN_0), value 2Event: time 1692994988.601883, -------------- SYN_REPORT ------------Event: time 1692994988.641754, type 1 (EV_KEY), code 256 (BTN_0), value 2Event: time 1692994988.641754, -------------- SYN_REPORT ------------Event: time 1692994988.641754, type 1 (EV_KEY), code 256 (BTN_0), value 0Event: time 1692994988.641754, -------------- SYN_REPORT ------------Ctrl+c
The following script uses evtest to wait for the USR button to be pressed and
then turns on the LED.